Letterpress is a traditional printing method invented in the 15th century. Back then, letterpress printing was a speedy alternative to copying by hand. Now we have home inkjets that can print at the touch of a button. While letterpress may no longer be the fastest way to print, it stands alone in the one of a kind prints it creates with tactile impressions on pillowy cotton paper. With the creation of stunning letterpress paper products by printers all over the world, the appreciation for this artisan print method continues to grow year after year.
The beauty of the process is simple; it means slowing down long enough to admire the details and the handiwork that goes into creating a single piece. The artisan processes may take longer, but the ability to control the entire creation process by hand is the magical part of creating a one-of-a-kind piece with love and attention to detail.
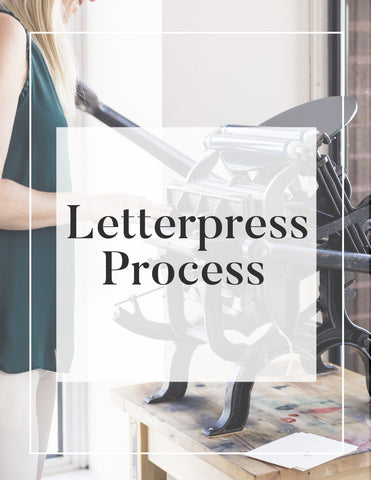
Today I am sharing with you the process of letterpress, from start to finish.
If you’d like to see the entire process, check out my Instagram highlight story where you can follow along on the creation of a new project for a client!
Step 1: Design
All of my designs begin in a sketchbook. There nothing like putting pencil to paper for developing ideas and it ensures that each piece is truly one of a kind. Once the design has taken shape, I scan any illustrations into the computer and finalize the design there. After it’s complete, the design is made into a printing plate to be used on the press.
Step 2: Select the Paper
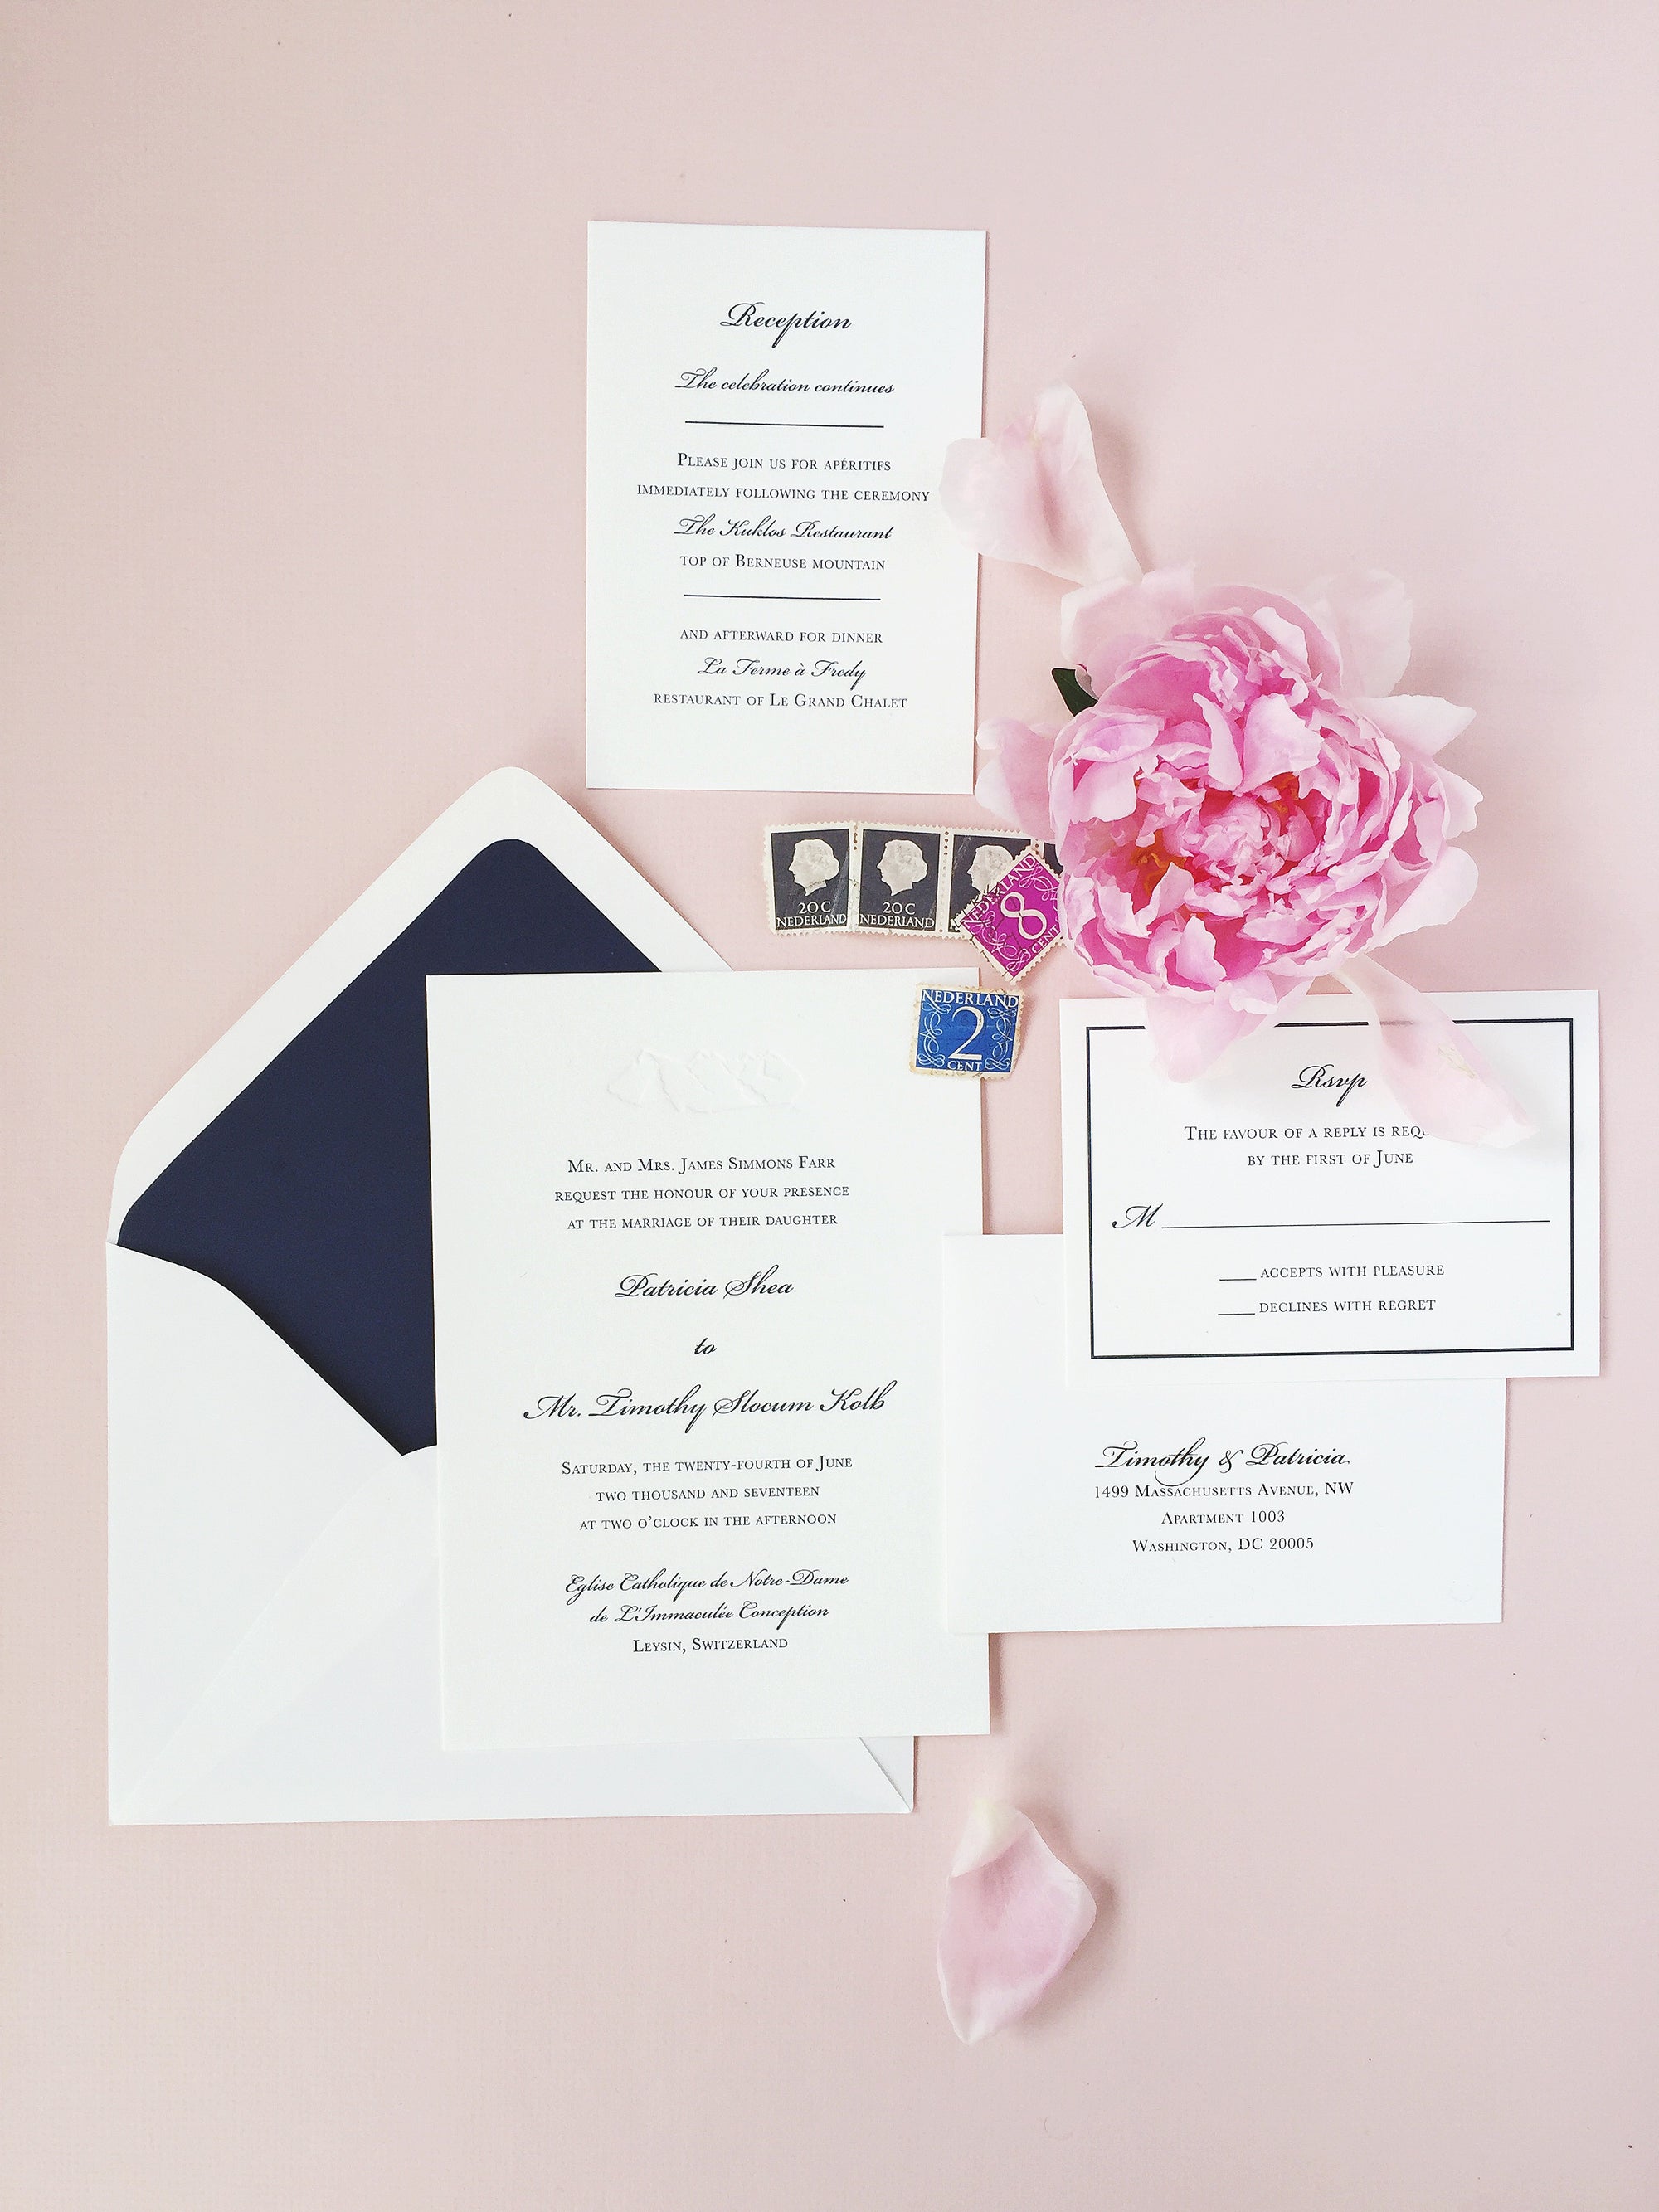
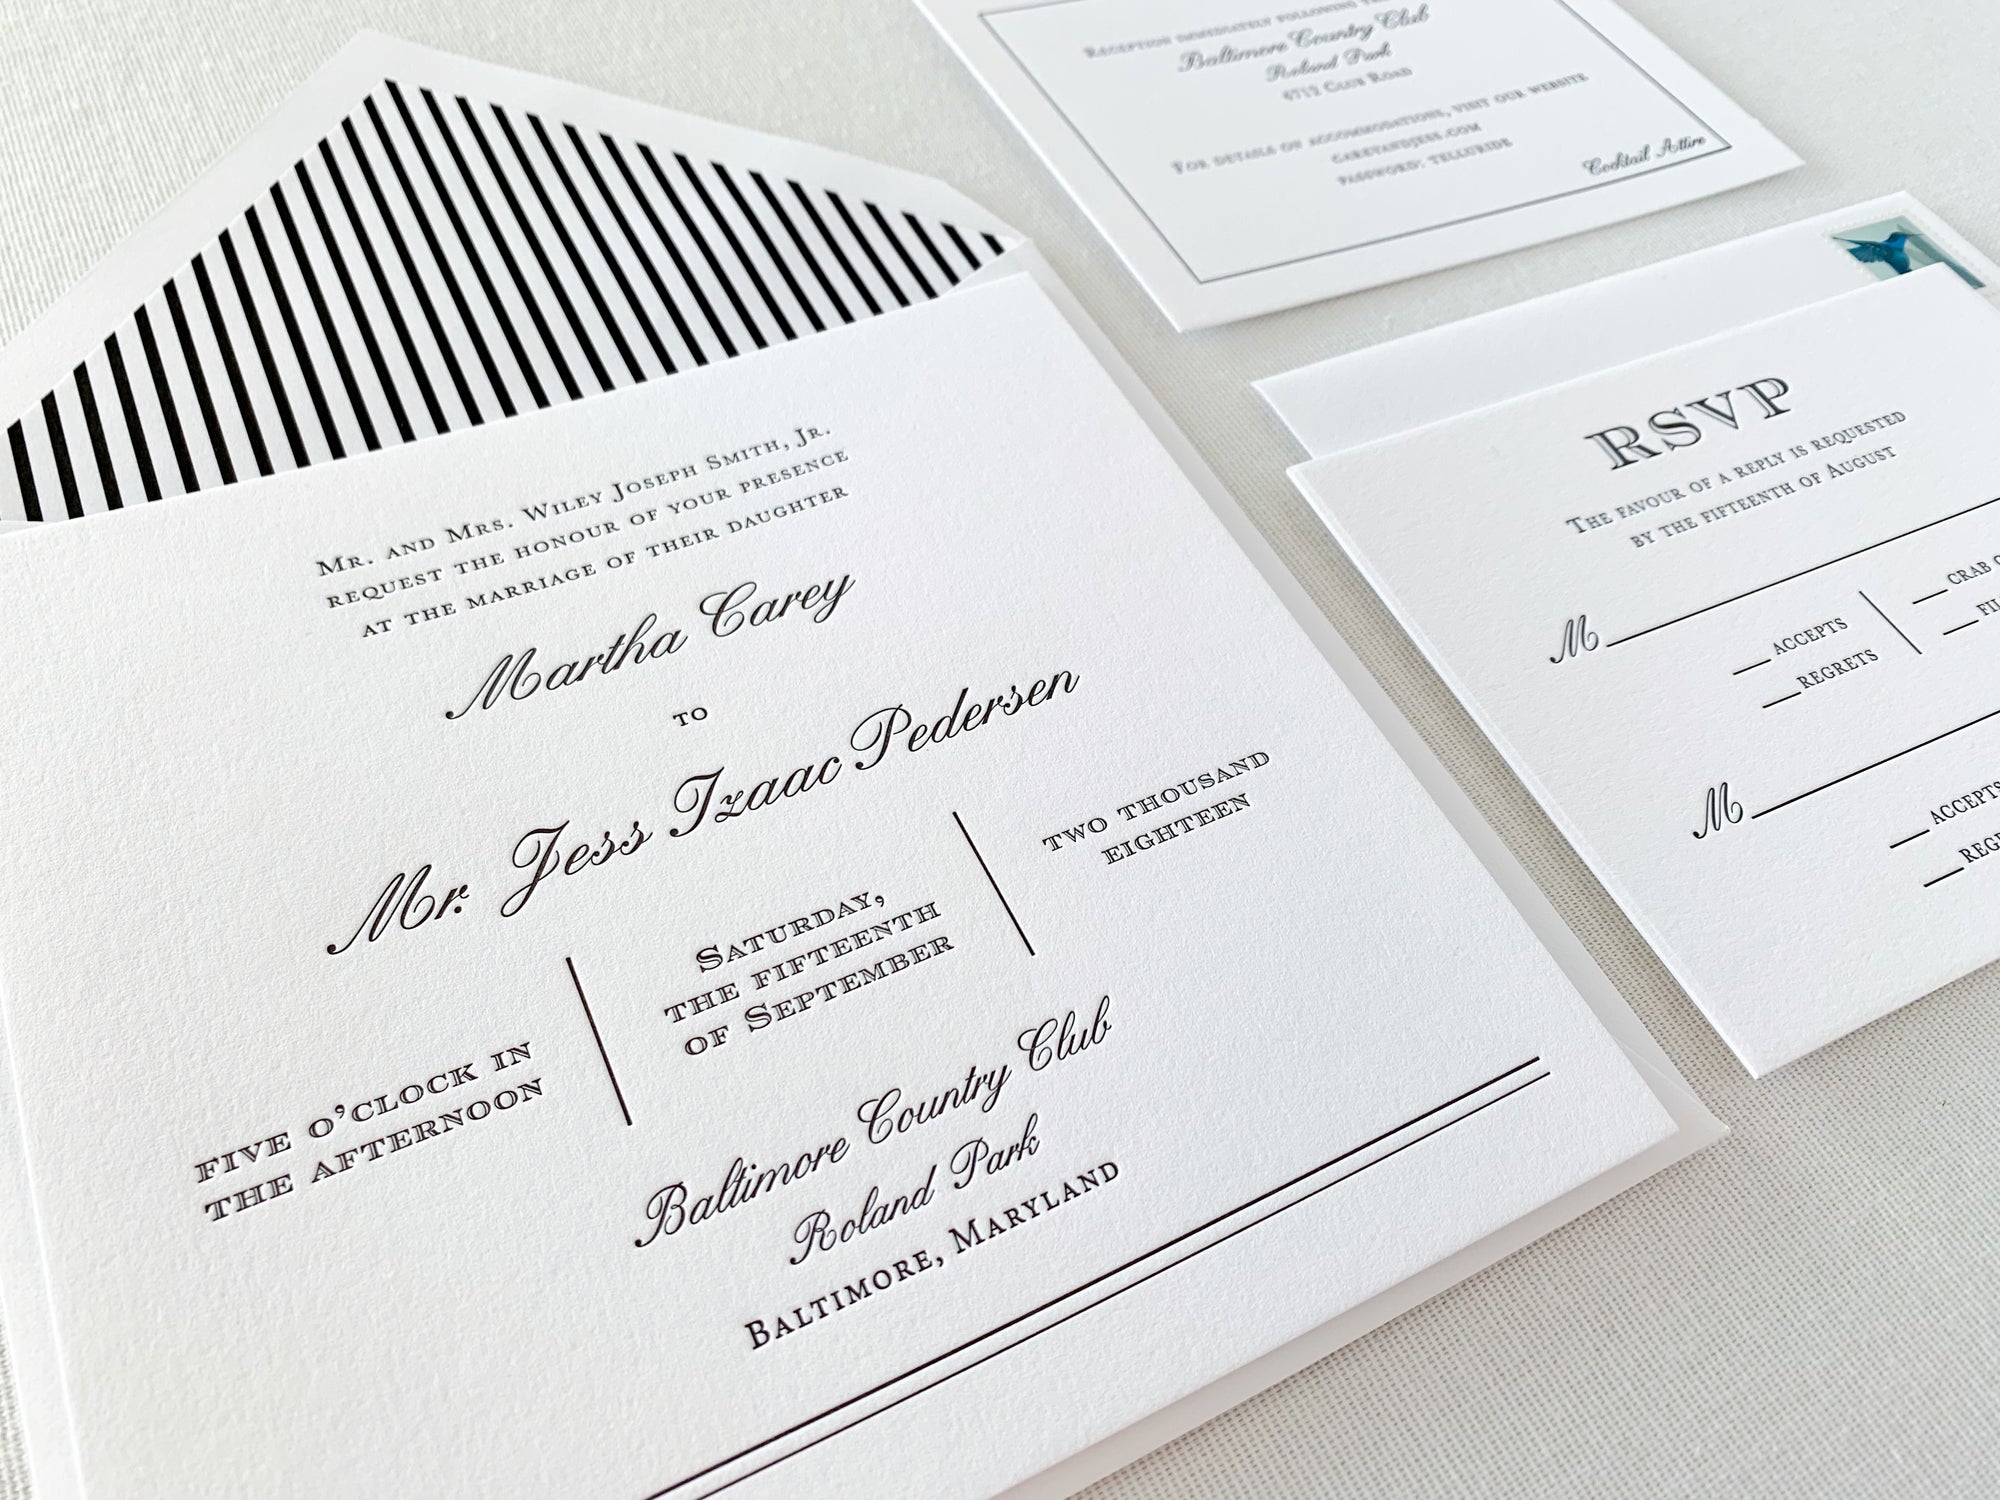
For letterpress printing thick, cotton paper is the perfect complement because it shows off the letterpress impression so well. Another choice that I love using is handmade paper. You can see the beautiful texture and raw edges that create such a unique feel. When I’m getting ready to print, I set up all the paper from cards to envelopes and a few extra pieces for test runs at the press.
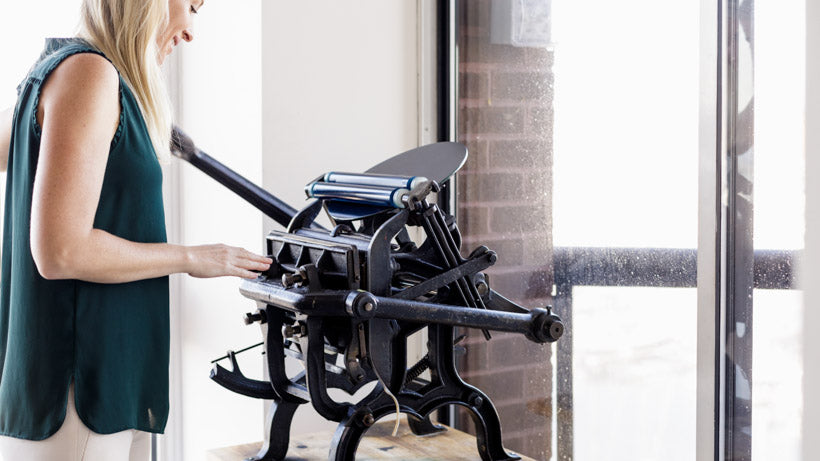
Step 3: Setup the Printing Plate
This portion of the process takes the most time! The printing plate and paper are mounted to different parts of the press, so checking alignment is a slow and deliberate process. Proper setup is crucial for ensuring the perfect end product and often takes a multitude of adjustments.
Step 4: Mix your Ink Colors.
I have about 10 base inks and use the Pantone formula guide to mix these into thousands of different colors. Never underestimate the capabilities of base colors! Once I’ve created my desired color, I put a small amount on the ink plate and run the press to spread the ink so it’s ready for printing!
Step 5: Test Prints
I run a few test prints to check for ink coverage, color, and alignment. These test prints are done on extra paper of the same quality and color that I will use for the actual stationery, so I can have a true test of the final letterpress result. If any additional adjustments need to be made, I complete them now.
Step 6: Time to Letterpress Print!
It’s finally time to print! Once the printing plate, ink, and press have been prepared I begin to letterpress print the stationery pieces. It is so exciting to hear the clinking of the press and to see the custom pieces come to life before my eyes. It’s such a beautiful art and knowing the stationery will end up in the hands of another letterpress lover brings me joy with each press.
Step 7: Repeat
If there is another piece of the stationery set that requires the same color, I switch out the printing plate and run the next plate, being sure to print test pieces and make adjustments where needed. I may need to add more color or adjust the alignment of the plate. I run all the printing plates that use the same ink color first, then I will clean off the press, mix the new color and follow all the steps again!
The process of letterpress is so rewarding. From prepping the press to seeing the finished stationery with multiple colors and designs, it’s so lovely to see it all come together. The only thing better than seeing the process would be to see the recipients face light up when they receive their stationery in the mail!
If you want to see this process in action, check out my Instagram “step-by-step” highlight story, and be sure to follow me for more letterpress videos!